My Cart
Upgrading your above-ground pool with a new liner is not just a maintenance task; it’s an opportunity to extend the life and beauty of your backyard centerpiece. Whether you're tackling this project for the first time or you’re a seasoned DIY enthusiast, understanding the nuances of installing both overlap and J-hook pool liners is key to achieving a seamless fit and finish. This guide is meticulously crafted to empower homeowners with step-by-step instructions, ensuring every aspect of the installation process is clear and manageable.
Understanding the Importance of Pool Liner Replacement
Pool liners are the protective barrier that keeps the water in and the structure of your pool secured. They face constant assault from chemicals, sun exposure, and the stress of water weight. Over time, this can lead to fading, stretching, and eventual leaks. A new liner not only restores the aesthetic appeal of your pool but also ensures it remains a safe and enjoyable place for family and friends.
Understanding the Importance of Pool Liner Replacement
Before embarking on the journey of pool liner replacement, understanding the optimal conditions and preparatory steps is crucial. Weather plays a significant role in the success of installing a new liner, and several considerations must be taken into account to ensure a smooth process. Let’s explore the key factors and preparatory measures to consider before diving into the installation.
Weather Considerations for Pool Liner Installation
-
Temperature: The ideal temperature for installing a pool liner is between 70°F and 85°F (21°C to 29°C). Liners become more pliable and easier to work with in this temperature range, reducing the risk of tearing and making it easier to achieve a smooth, wrinkle-free fit. Temperatures below this range can make the vinyl stiff and difficult to manipulate, while higher temperatures may cause the liner to overstretch.
-
Sunlight: A cloudy yet bright day is perfect for liner installation. Direct sunlight can heat the liner unevenly, causing it to stretch in an uncontrollable manner. However, sufficient natural light is essential for visibility, ensuring you can properly align and smooth out the liner.
-
Wind: Choose a day with minimal wind. Wind can introduce debris into the pool area and interfere with the liner’s placement, making it challenging to keep the liner in position as you work.
-
Rain: Avoid installing your liner on rainy days. Water can complicate the installation process, making it difficult to keep the liner dry and in place. Moreover, rainwater mixing with any open sand base can create an uneven foundation, leading to wrinkles or sags in the liner.
Pre-Installation Preparations
-
Pool Base Inspection: Before the new liner arrives, inspect the pool base and walls for any sharp edges, rust, or damage that could puncture the new liner. Address these issues by sanding down sharp edges, patching holes, or applying protective tape over rough spots.
-
Site Cleanliness: Ensure the pool area is clean and free from debris. Even small stones or sticks can cause noticeable bumps under the liner or, worse, puncture it. Sweep and vacuum the area thoroughly before beginning the liner installation.
-
Tool and Material Check: Have all necessary tools and materials ready and within reach. This includes items for the installation itself as well as for any unexpected repairs or adjustments to the pool base or walls.
-
Helping Hands: Installing a pool liner is not a one-person job. Enlist the help of friends or family members. Having multiple people will make it easier to maneuver the liner, smooth out wrinkles, and ensure even placement around the entire pool.
-
Plan for Time: While some liner installations can be completed in a day, it’s wise to allocate extra time. Don’t rush the process; patience is key to achieving a professional-looking finish.
By carefully considering the weather conditions and ensuring thorough preparation, you set the stage for a successful liner installation. A well-planned approach not only facilitates a smoother installation process but also contributes to the longevity and aesthetic quality of your pool, ensuring countless days of fun and relaxation ahead.
Preparation: Materials and Tools You’ll Need
A successful installation begins with proper preparation. Here’s a more detailed look at the materials and tools required:
Materials:
Spray Adhesive: Ideal for attaching wall foam, this adhesive ensures a secure bond without damaging the pool walls.
Coping Clips and Wall Face Plates: Essential for securing the liner and ensuring the pool's structural integrity is maintained.
Optional Accessories: Wall foam offers additional protection and insulation, while a floor cove provides a gentle slope to prevent liner strain at the pool's edges.
Tools:
Shop Vac: Beyond just removing air, a powerful shop vac can help in shaping the liner to the contours of your pool for a perfect fit.
Submersible Pump: Opt for a pump with sufficient power to efficiently drain your pool, avoiding prolonged exposure to the elements for the pool structure.
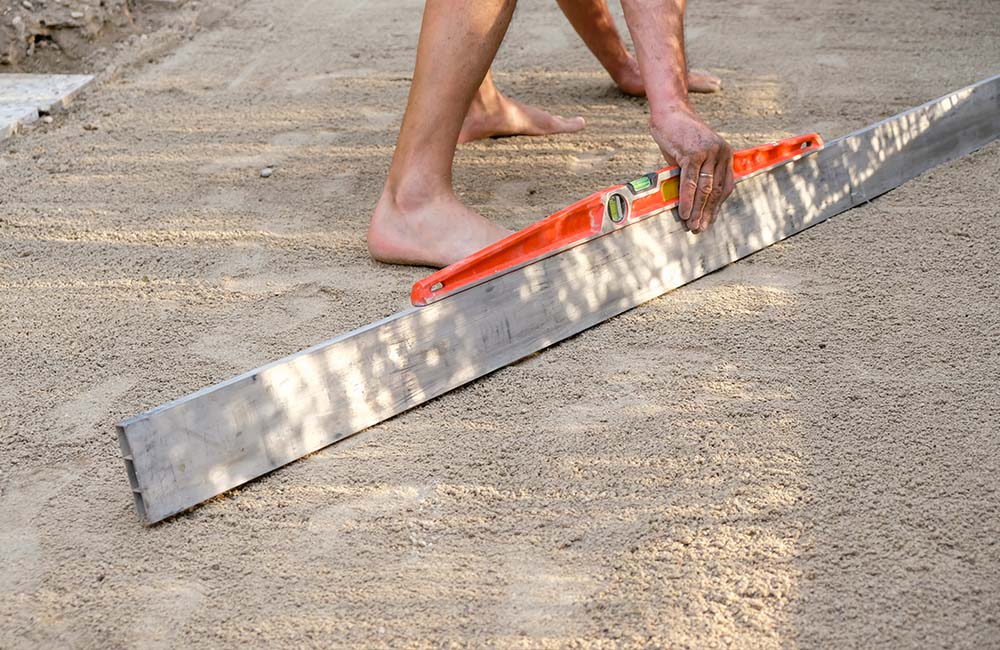
Carpenter's Level and Trowels: Precision in leveling and smoothing the pool base is crucial for preventing uneven wear and tear on the liner.
Detailed Installation Steps
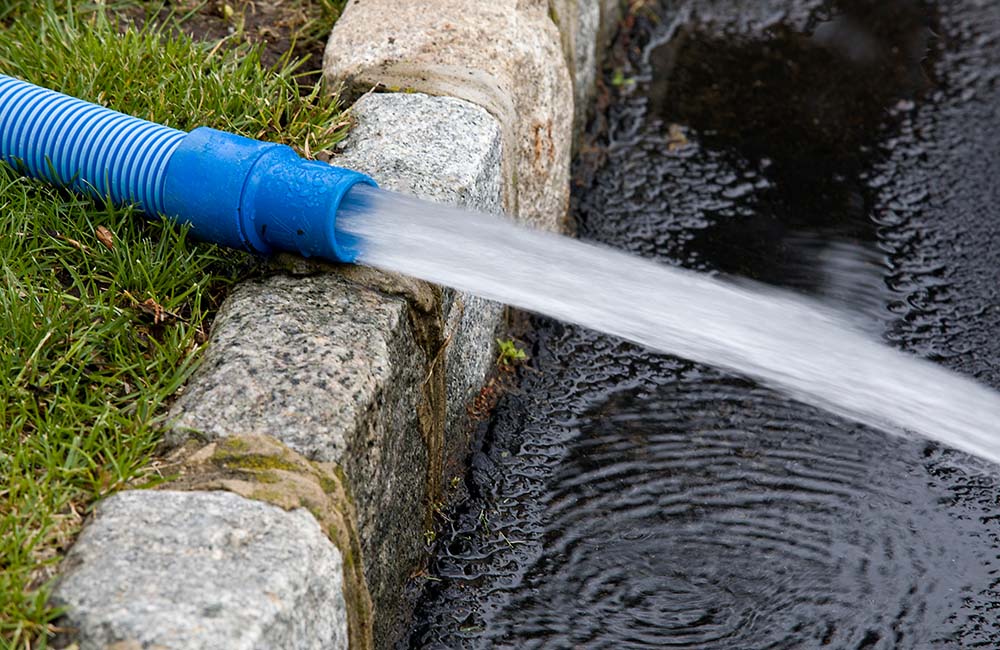
1. Draining Your Pool
Pay close attention to the draining process, ensuring you manage the water flow to prevent garden erosion or basement flooding. This step is about more than just removing water; it's about safeguarding your property during the process.
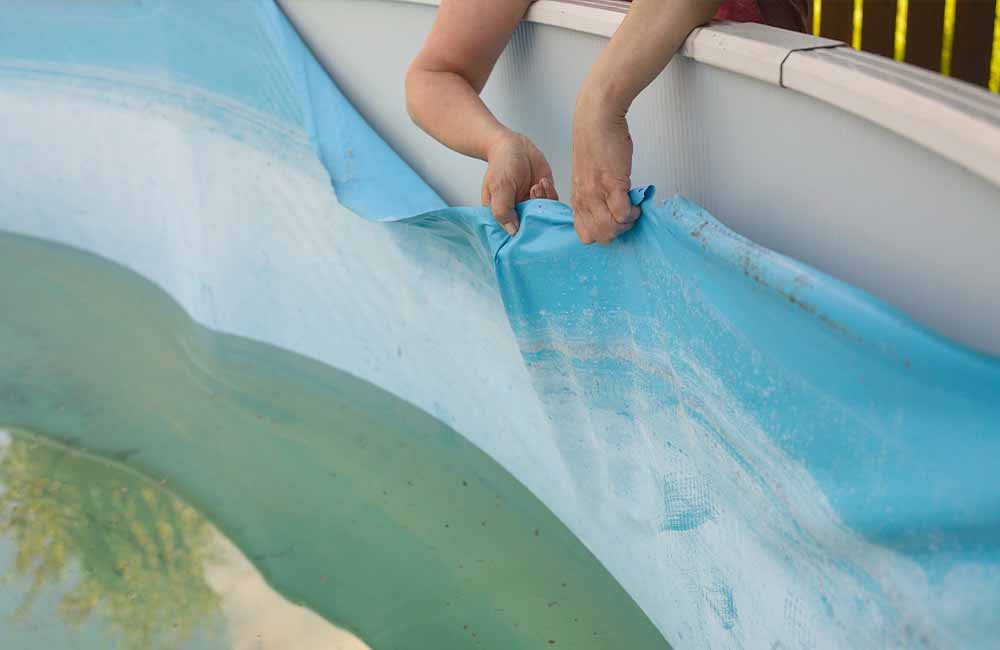
2. Removing the Old Liner
Exercise patience and caution. Removing the old liner in sections not only makes disposal easier but prevents damage to the pool walls and coping. For those with J-hook liners, this step requires gentle handling to preserve the integrity of the liner track.
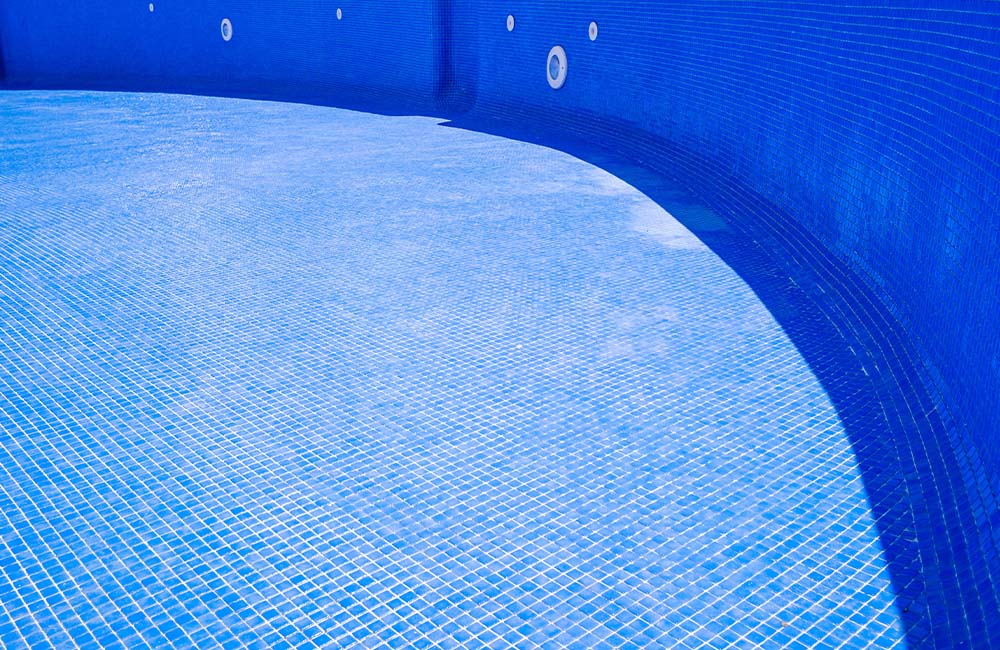
3. Preparing the Pool Floors and Walls
Achieving a smooth base is paramount. For sand bases, consider the use of a landscaping rake for initial smoothing, followed by a hand trowel for fine adjustments. When applying wall foam, ensure complete coverage without overlaps or gaps to create a uniform cushion for the liner.
4. Installing the New Liner
The step of installing the new liner is pivotal in the transformation of your above ground pool. It’s where precision meets patience, ensuring that your pool not only looks great but functions flawlessly. Let’s delve into the nuances of installing overlap and J-hook liners, focusing on the meticulous details that make all the difference.
Overlap Liners: Achieving Perfect Evenness
-
Initial Placement and Adjustment:
- Begin by unfolding the liner in the center of the pool. Gently spread it out towards the edges, ensuring it's centered and evenly distributed across the pool floor.
- Drape the liner over the pool walls, ensuring that it extends evenly over the sides. The goal is to have an equal amount of liner material overlapping the pool wall all around the perimeter.
-
Securing the Liner:
- Temporarily secure the liner to the pool wall using clothes pins or coping clips. This prevents the liner from slipping while you make adjustments.
- Walk around the pool perimeter, adjusting the overlap to ensure that it is uniform. This might require you to slightly lift and reposition sections of the liner to achieve a balanced drape over the wall.
-
Fine-Tuning for Evenness:
- Once the initial adjustments are made, take a step back and visually inspect the overlap from various angles. Look for any areas where the liner might be too high or too low compared to the rest of the pool.
- Adjust the overlap by gently pulling the liner up or down, striving for an overlap that is consistent in width all the way around the pool. This step might need to be repeated multiple times, as adjusting one section can affect the tension and placement of adjacent sections.
-
Final Securing:
- After achieving an even overlap, use coping strips (if applicable) to clamp the liner onto the pool wall. Ensure these strips are snapped on securely but without stretching or distorting the liner.
- Trim any excessive liner material, leaving enough overlap to accommodate for future adjustments or stretching. The excess can be trimmed more neatly once the pool is filled and the liner is fully seated.
J-Hook Liners: Mastering Precise Alignment
-
Starting Point:
- Identify a starting point, preferably at one end of the pool. Carefully insert the J-hook edge of the liner into the pool's track or bead receiver.
- Ensure the liner is right side up. The J-hook or bead should easily clip into or sit within the track, indicating you’re working with the correct orientation.
-
Progressive Installation:
- Gradually work your way around the pool, gently pushing the J-hook into the track. Apply uniform pressure to avoid stretching or misaligning the liner.
- As you proceed, it's essential to maintain slight tension in the liner to prevent sagging or bunching. However, be mindful not to pull too hard, as this could cause the liner to tear or become overly taut, leading to issues once the pool is filled.
-
Checking and Re-checking Alignment:
- Every few feet, pause to check that the liner is correctly seated in the track all around the perimeter. Look out for any sections where the liner might have popped out or is not fully engaged in the track.
- If adjustments are needed, gently release the liner from the track and realign it. This may involve stretching the liner slightly to fit or repositioning it to eliminate any slack.
-
Finalizing the Installation:
- Continue around the pool until the entire liner is securely fastened within the track. Pay special attention to corners or curves, where the liner may need extra care to fit snugly without wrinkles or folds.
- Once in place, do a final inspection to ensure that the liner is smooth, with no significant wrinkles or misalignments. Minor adjustments can still be made by gently pulling the liner towards the pool walls to even out any discrepancies.
By focusing on the detailed steps for both overlap and J-hook liners, you ensure a smooth and visually appealing installation. The effort you put into this stage pays off in the longevity and aesthetic of your pool, providing a flawless backdrop for countless hours of enjoyment.

5. Setting the liner with a Vacuum
Creating a vacuum seal between the liner and the pool walls is a critical step. It’s not just about removing air; it's about shaping the liner to the contours of your pool. The goal is to see the liner hug every curve and corner tightly, indicating a perfect fit.

6. Filling the Pool
Fill slowly and monitor continuously. Water weight will lock the liner in place, but this is also when you're most likely to notice any issues. Small adjustments during this phase can prevent significant problems later on.
7. Final Touches
As you reinstall the skimmer and return jets, ensure the gaskets are perfectly aligned to avoid leaks. This is also the time to trim any excess liner material from overlap installations for a clean finish.
With patience and attention to detail, installing your above-ground pool liner can be a rewarding DIY project. Each step, from preparation through to the final touches, is crucial in ensuring a smooth and durable installation. By following this guide, you’ll not only extend the life of your pool but also enhance its appearance, ensuring it remains a source of joy and relaxation for years to come.
Wrapping Up: Your Path to Pool Perfection
Congratulations on successfully installing your new pool liner! Whether you’ve navigated the nuances of fitting an overlap liner with perfect evenness or mastered the precise alignment of a J-hook liner, you've taken a significant step in revitalizing your above ground pool. But why stop here? The journey to a fully functional and aesthetically pleasing pool encompasses much more, from the initial setup to the final touches that make your pool uniquely yours.
To support you through every phase of your above ground pool setup, we’ve compiled a comprehensive guide that covers all the bases. Whether you're setting up a new pool or revamping your existing backyard oasis, our Complete Above Ground Pool Installation Guide is an invaluable resource designed to ensure a smooth and successful project from start to finish.
Dive deeper into topics like choosing the perfect location, preparing the site, assembling the frame, and balancing your pool chemistry by visiting our detailed guide on Above Ground Pool Installation & Setup. Here, you’ll find expert advice, tips, and tricks that answer all your questions and guide you through the complexities of pool installation and maintenance.
Remember, the journey to the perfect pool is a rewarding one. It’s about creating a space for relaxation, enjoyment, and making lifelong memories with friends and family. With the right resources at your fingertips, including our comprehensive installation guide, you’re well on your way to experiencing life’s best moments in the comfort of your backyard.
Frequently Asked Questions
How often should I replace my above-ground pool liner?
Typically, above-ground pool liners should be replaced every 5 to 9 years, depending on the quality of the liner, maintenance, and exposure to harsh weather conditions.
Can I install a new pool liner myself?
Yes, with careful planning, the right tools, and a bit of patience, many homeowners successfully install their pool liners. However, consider enlisting a few friends or family members to help with the process.
Topics: Pool - Above Ground Pools