My Cart
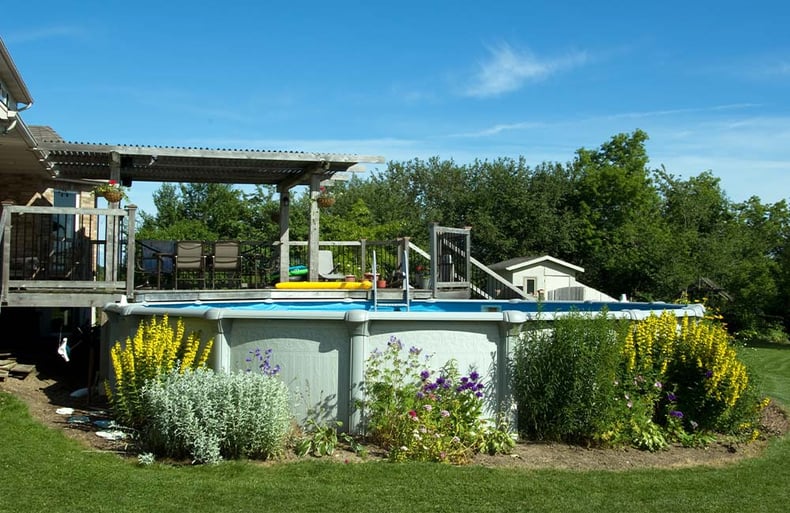
If you're dreaming of leisurely days floating in your own pool but your backyard is more "rolling hills" than "flat plains," don't despair. An uneven yard can pose a challenge, but with the right approach, you can create a level base for your above ground pool. And remember, if you choose a pool from Watson’s, you have the option to pay for professional installation, ensuring your pool is perfectly leveled and ready for summer fun. But for those who love a good DIY project, here’s how to level the ground for your above ground pool.
Why a Level Pool is Essential
Before diving into the leveling process, it's important to understand why it’s crucial for your pool's health and longevity. A level pool ensures even water pressure against the pool walls, minimizing the risk of structural damage. It also prevents uneven wear and tear and helps keep your above ground pool clean by ensuring proper circulation.
Preparation: Understanding the Task at Hand
1. Choose the Right Location
Select a spot that’s naturally as level as possible. Avoid areas under trees or close to your house to minimize debris and potential damage.
2. Gather Your Tools
You'll need a shovel, a rake, a carpenter’s level or a laser level, a tamper or roller, and possibly fine mason sand to use as a base for the pool to lay on.
3. Mark the Area
Use stakes and string to outline the pool's perimeter. Make sure to account for any extra space needed for supports or entry steps.
Important Considerations Before Digging
Check for Underground Hazards:
It’s crucial to verify that the area where you plan to dig does not have underground pipes, wires, septic systems, or leech lines. Accidentally hitting one of these can cause serious problems, from cutting off your home’s utilities to causing leaks or even dangerous situations. Contact your local utilities to mark out any underground lines, and consider consulting with a professional if you're unsure about the location of septic systems or leech lines. This preventive step is not just about avoiding inconvenience but ensuring the safety of your household and your neighbors.
Step-by-Step Leveling
1. Clear the Site
Remove any grass, stones, or debris from the area. This is crucial for preventing punctures to the pool liner and ensuring a smooth surface.
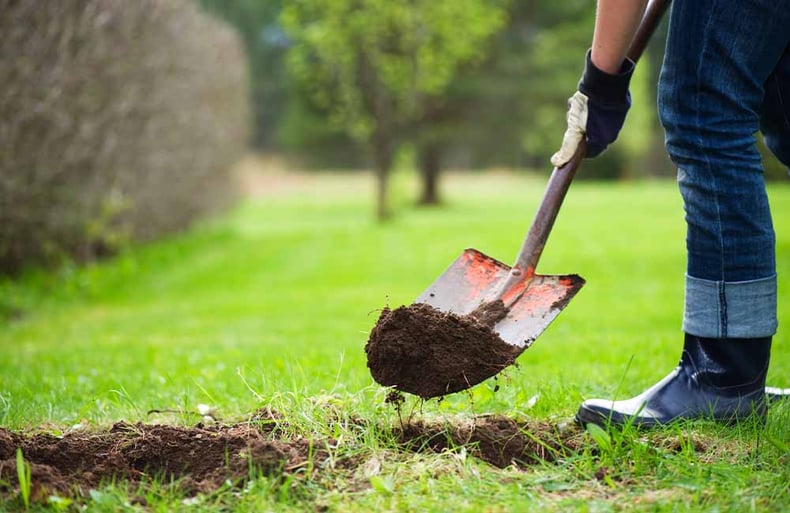
2. Start Digging
Using your shovel, start removing soil from the higher areas within your marked zone. Your goal is to get the ground as level as possible by eye before using any tools.
3. Check for Level
Use your carpenter’s level or a laser level to check how flat the area is. You’ll want to do this frequently as you remove and adjust the soil.
4. Compact the Soil
Once the ground is level, use a tamper or roller to compact the soil. This step is vital to prevent settling once the pool is filled with water.
5. Add Base Material
For extra stability, consider adding a layer of fine mason sand. This layer should also be compacted and leveled.
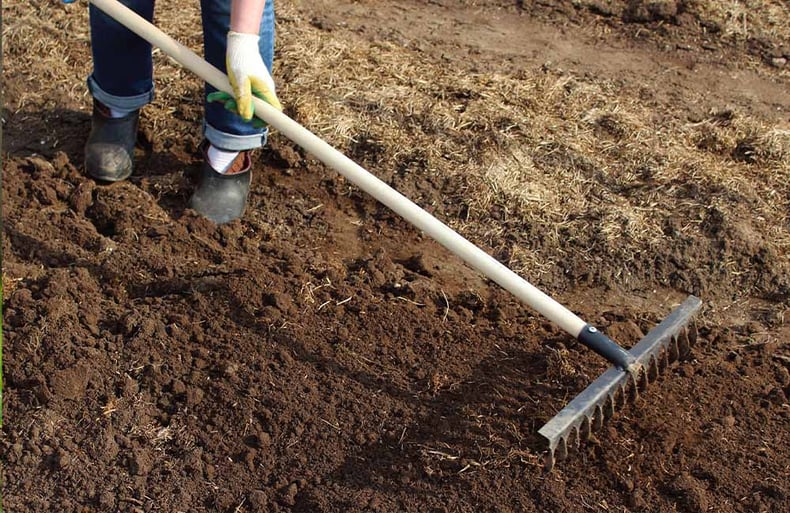
6. Final Leveling
Check the levelness one more time after compacting. Minor adjustments can be made with a rake or by adding a little more base material where needed.
Professional Installation Option
For those who prefer a hands-off approach or want to ensure their pool is set up perfectly, Watson's offers professional installation services. Purchasing your pool from Watson’s not only gives you access to our amazing selection and incredible value, but you can also rest easy knowing that your pool will be installed by experts. This means more time enjoying your pool and less time worrying about whether it’s level.
After Leveling: The Next Steps
Once your ground is perfectly level, you can proceed with setting up your pool according to the manufacturer's instructions. Remember, a level start means a smoother setup and a pool that’s ready for all the splashing, swimming, and relaxing you can imagine.
Once your pool has been installed for a while you may get a leak in it. Read our guide on how to find a hole in an above ground pool
Conclusion
Leveling the ground for an above-ground pool might seem daunting, but with the right tools, a bit of patience, and the necessary precautions, it's an achievable weekend project. However, if you're looking for peace of mind and a guarantee of professionalism, opting for Watson’s professional installation might be the way to go. Either way, we're here to help make life’s best moments start in your own backyard.
With Watson’s, it’s not just about selling pools; it’s about delivering the joy and fun that comes with them. Dive into your summer plans with confidence, knowing your pool base is solid, level, and ready for years of enjoyment, all while ensuring the safety and integrity of your property.
For those who are looking for a comprehensive guide to installing their above-ground pool, from start to finish, we've got you covered. Dive into our detailed Above Ground Pool Installation & Setup Guide. Whether you're a DIY enthusiast ready to tackle the project or considering the convenience of professional installation, this guide provides all the insights and tips you need to ensure your pool is set up for years of fun and relaxation.
Frequently Asked Question
What should I do if I find underground utilities in my chosen pool area?
If you discover underground utilities in your chosen pool area, you must select a new location for your pool. Never attempt to move or modify utility lines yourself. Always contact professional services for advice and re-marking of utility lines before proceeding with any digging or construction activities.
Topics: Pool - Above Ground Pools